Create a Project
- Click the "Create Project" icon.
- Select "Empty Project".
- Right-click the project icon, select "Rename", and enter your desired project name.

Create a Table
-
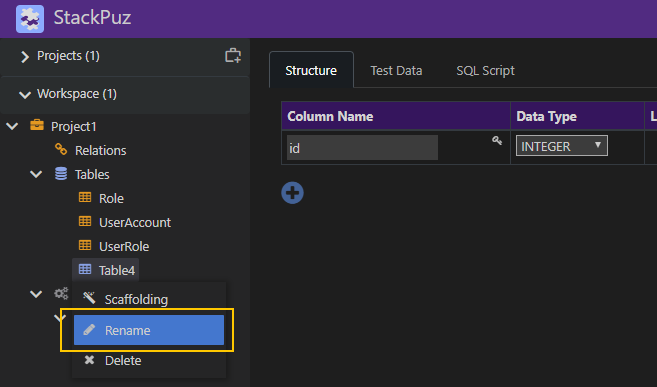
Right-click the Tables icon and select "Add Table".

-
Right-click the new table icon, select "Rename", and enter the table name.
-
Click the "Add Column" icon to create a new column.
-
Enter the column name in the text box.

-
Go to the "Test Data" tab.
-
In the Data Setting dropdown, select "Brand Name".

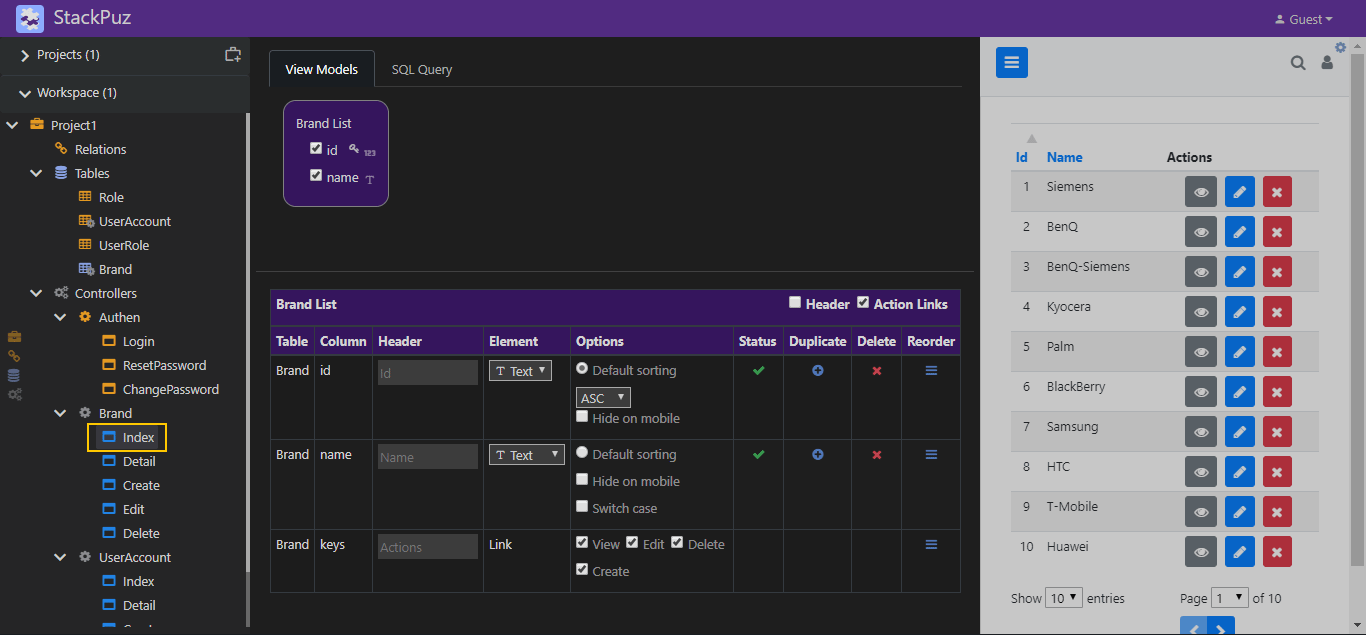
Scaffolding
Right-click the created table icon and select "Scaffolding".

Preview Web App
Once scaffolding is complete, the operation will automatically generate the Controllers and associated Views, which will appear in the Preview Pane on the right. You can now perform CRUD operations within this preview, simulating a real web application experience.